
The stages
3d Prints
At first, indeed for the prototypes, I used a 3d printing company to print my models. At 16µ layer height, these were the best that was available to me, the best printers in the world, or so I thought. However, besides the expense of each model, the long wait times and the variable quality and thusly, customer care, I could see the 16µ on two opposite faces and all was well there, but on the orthogonal sides from these 16µ layers, the layers looked much, much bigger, more like 75-100µ – not so good at all.
Heavily modified
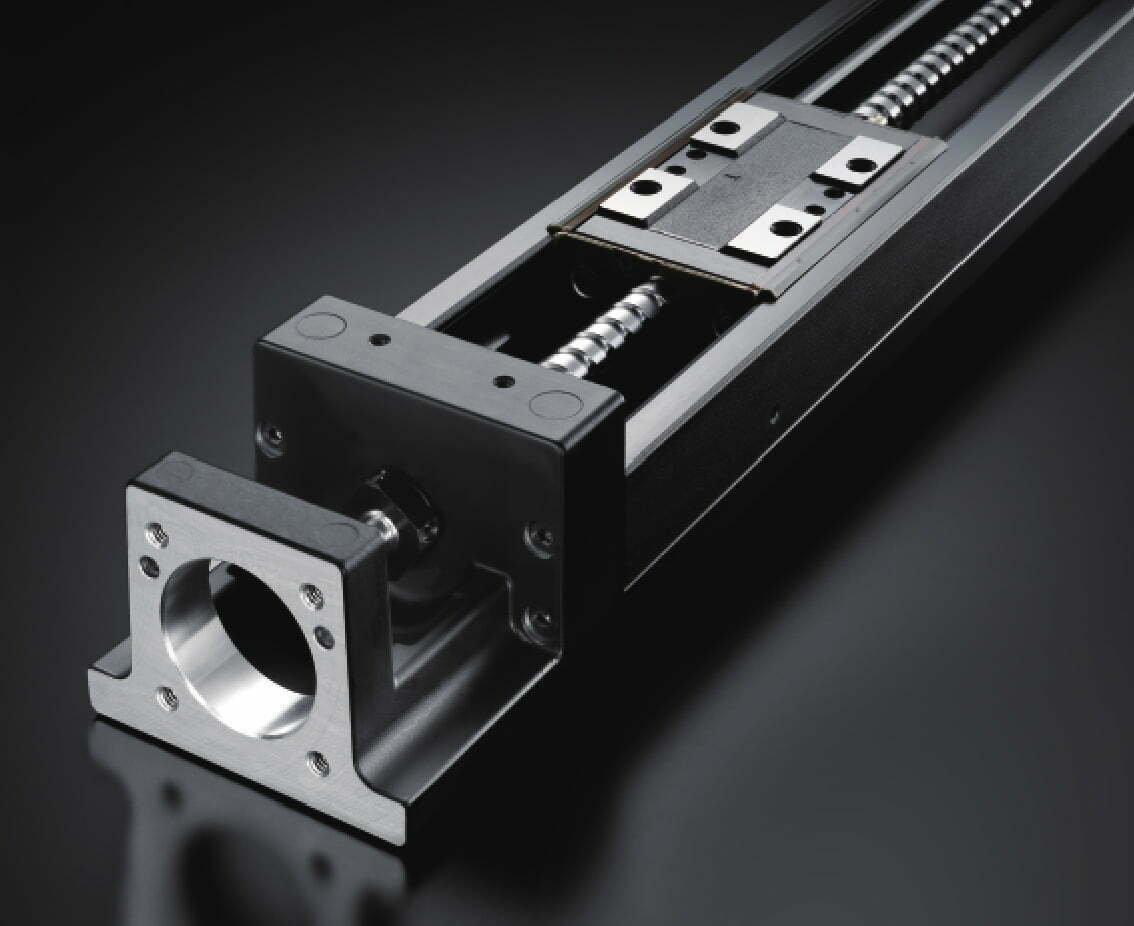
So, I dived into building my own printers. From a base of a Wanhao Duplicator 7, I modified the z-axis so that the resolution was far higher, by adding a 2mm pitch ball screw contained in a THK KR26 linear actuator. This made the backlash go completely away, and any z wobble disappeared. I also swapped the 1.8° Nema for a 0.9°. Two modifications which made the resolution jump from the D7’s 200 steps/mm to 3,200 steps/mm (with 16 microsteps).
Smart stepper
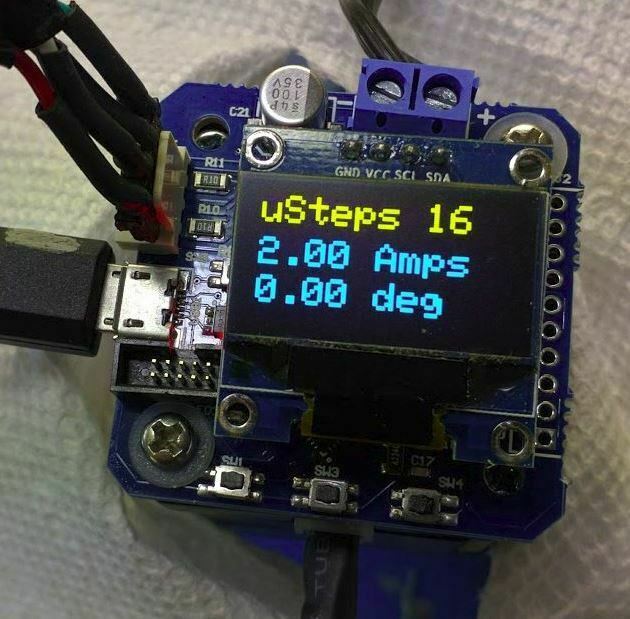
I also added Nano Zero Stepper board to the top of the Nema motor. This adds a feedback loop to the stepper. Without it the board doesn’t know where the stepper is, it guesses each move. But with a feedback loop, it actually knows. This adds perfection. Yes, simply put – perfection to each layer. Thus each layer is exactly, precisely the height I specify. With this NZS I could go nuts with 256 microsteps, making an insane resolution of 51,200 steps/mm. But as it is, 3,200 is good enough for my 5µ prints which take 30 hours to print a 14mm high model. As I print two faces at a time, you could say that it takes 2 x 30 hours = 60 hours to print one stone at 76th scale. Yes, it’s slow, but you can’t hurry quality 😉
And to cap it off, I print directly onto the LCD. The default D7 has its LCD covered with a protective plastic screen protector, but this is about half a millimeter thick. This means that the pixels in the LCD are 0.5mm away from the FEP, which also adds its own 50µ thickness. Thus, those pixels are a total of 0.55mm away from the resin. It doesn’t sound a lot, but the UV light has that much distance to spread out, making each layer somewhat more blurry. I’ve removed that protective layer (and now ruin a lot of LCDs). So now the LCD’s pixels are only 0.05mm or 50µ – the thickness of the FEP away from the resin and my layers are really, really crisp! Nice and sharp.
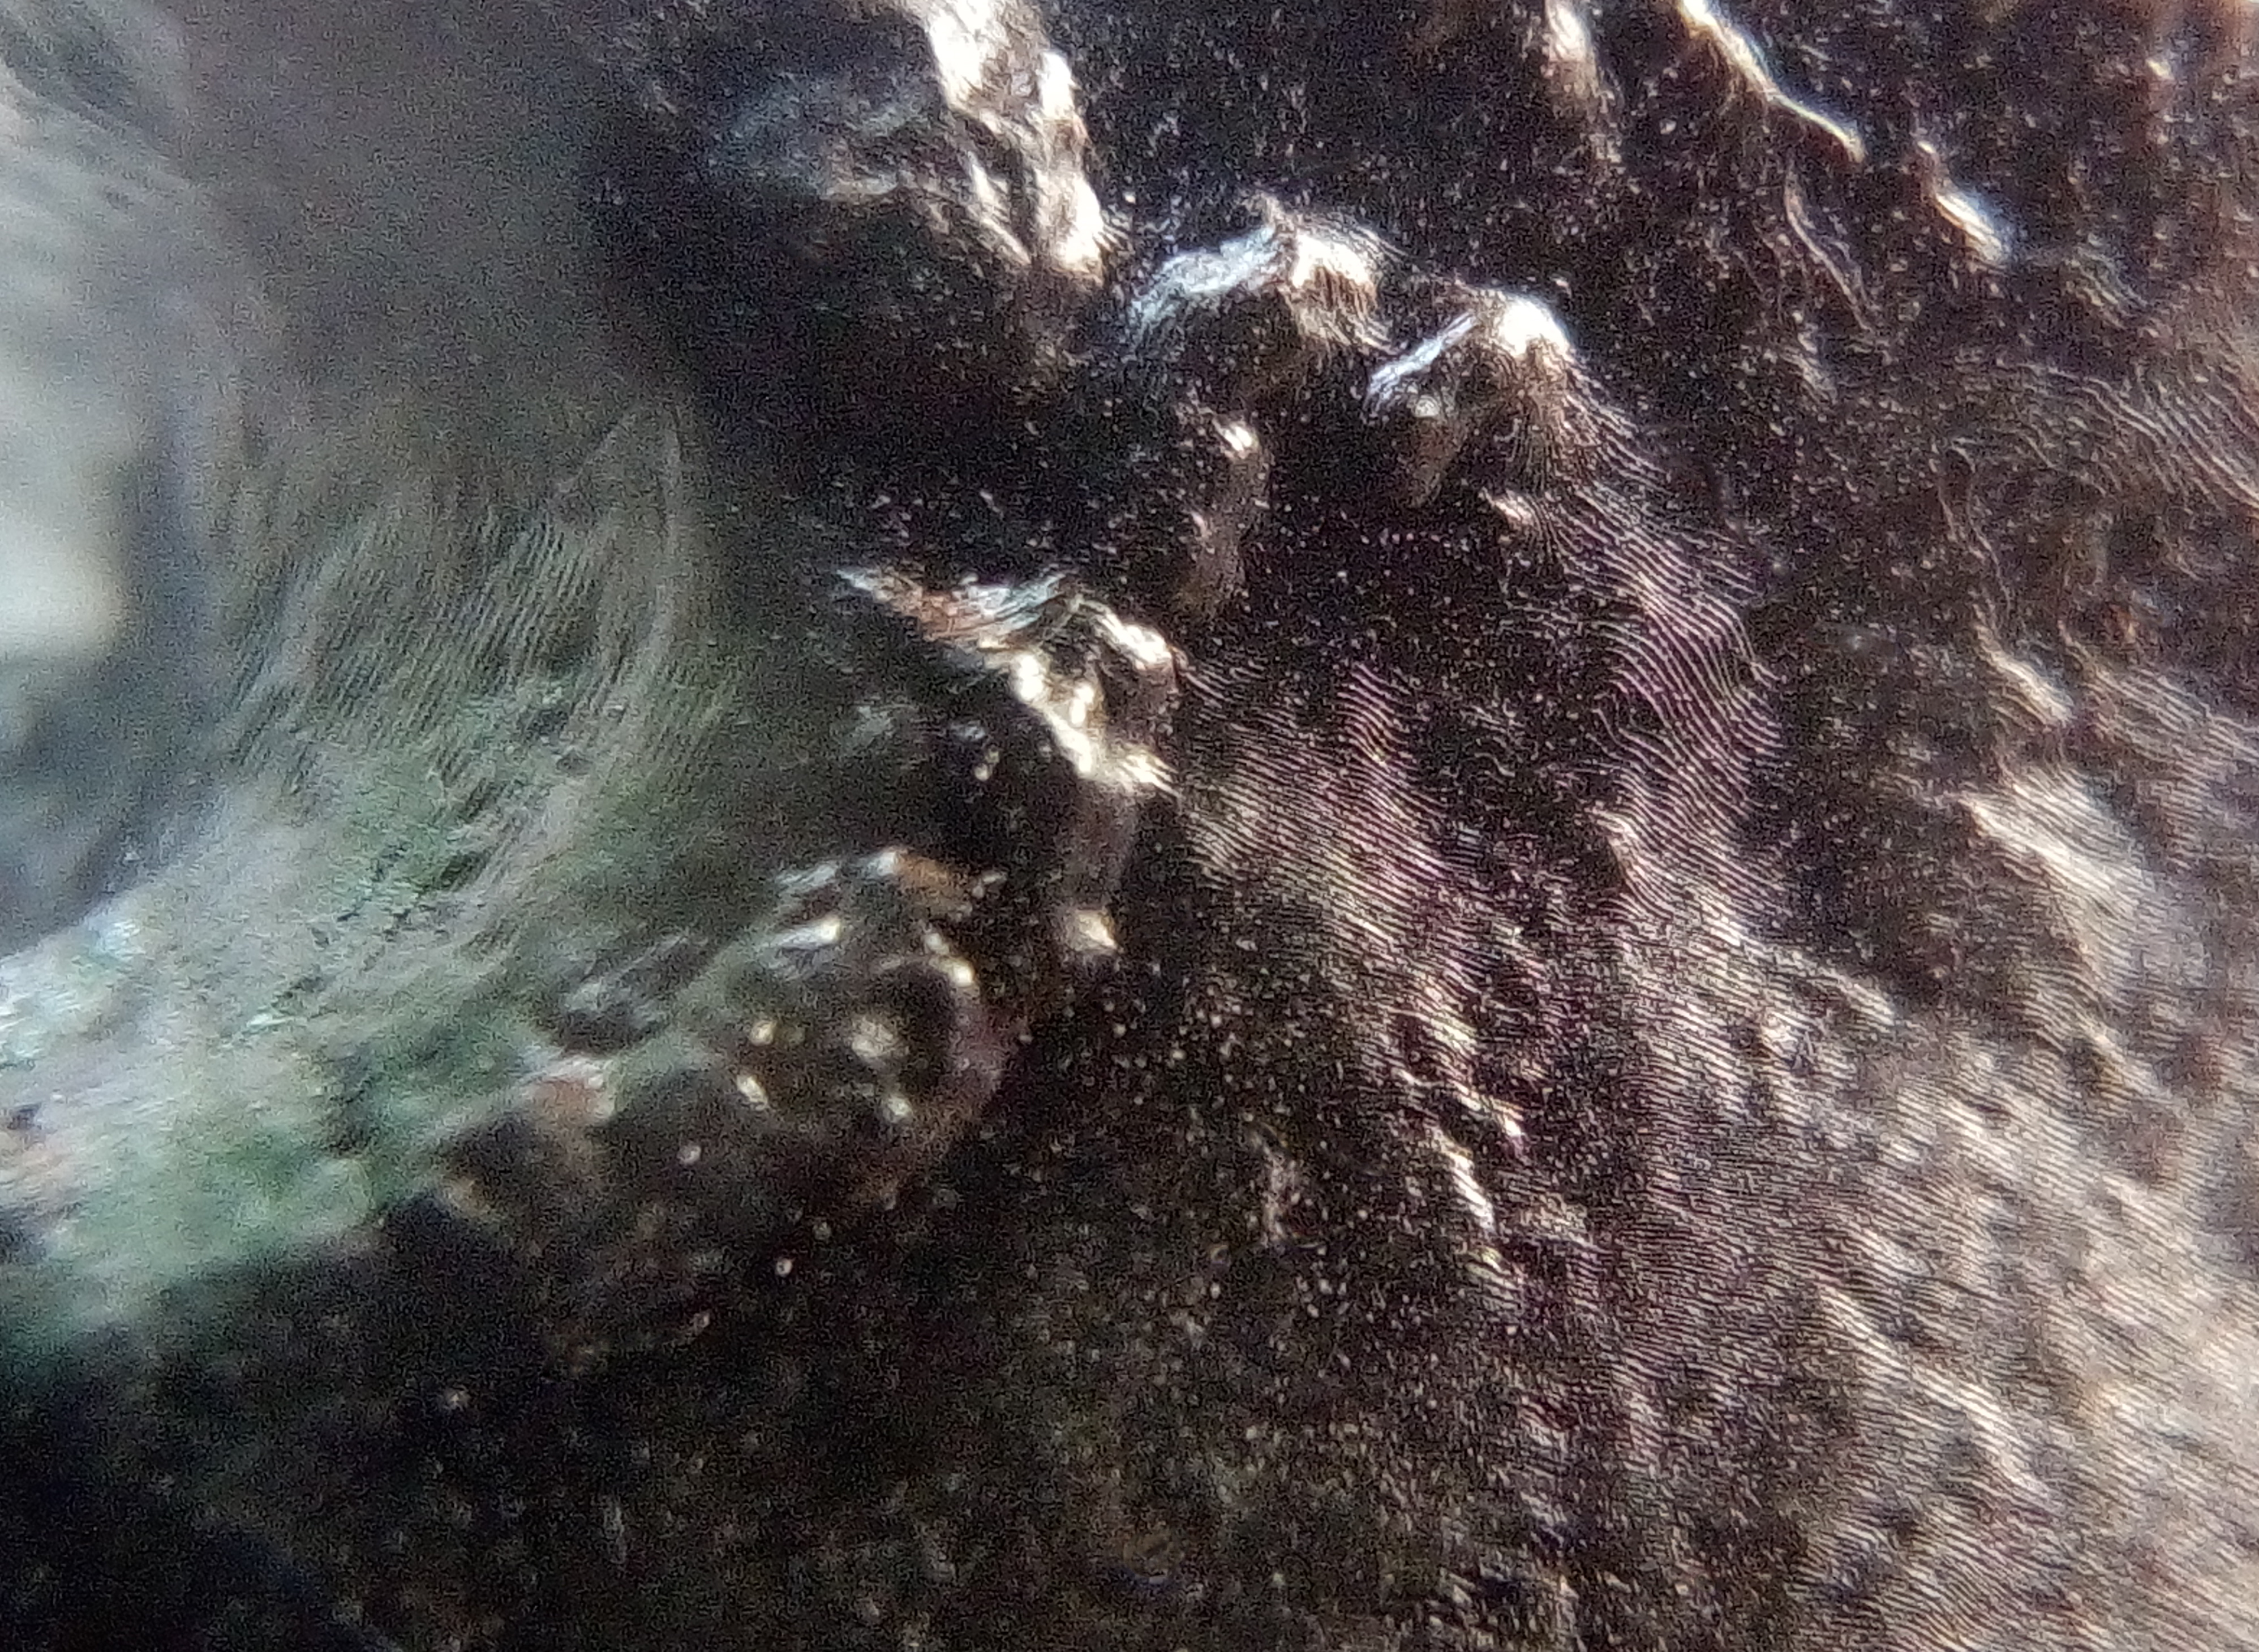
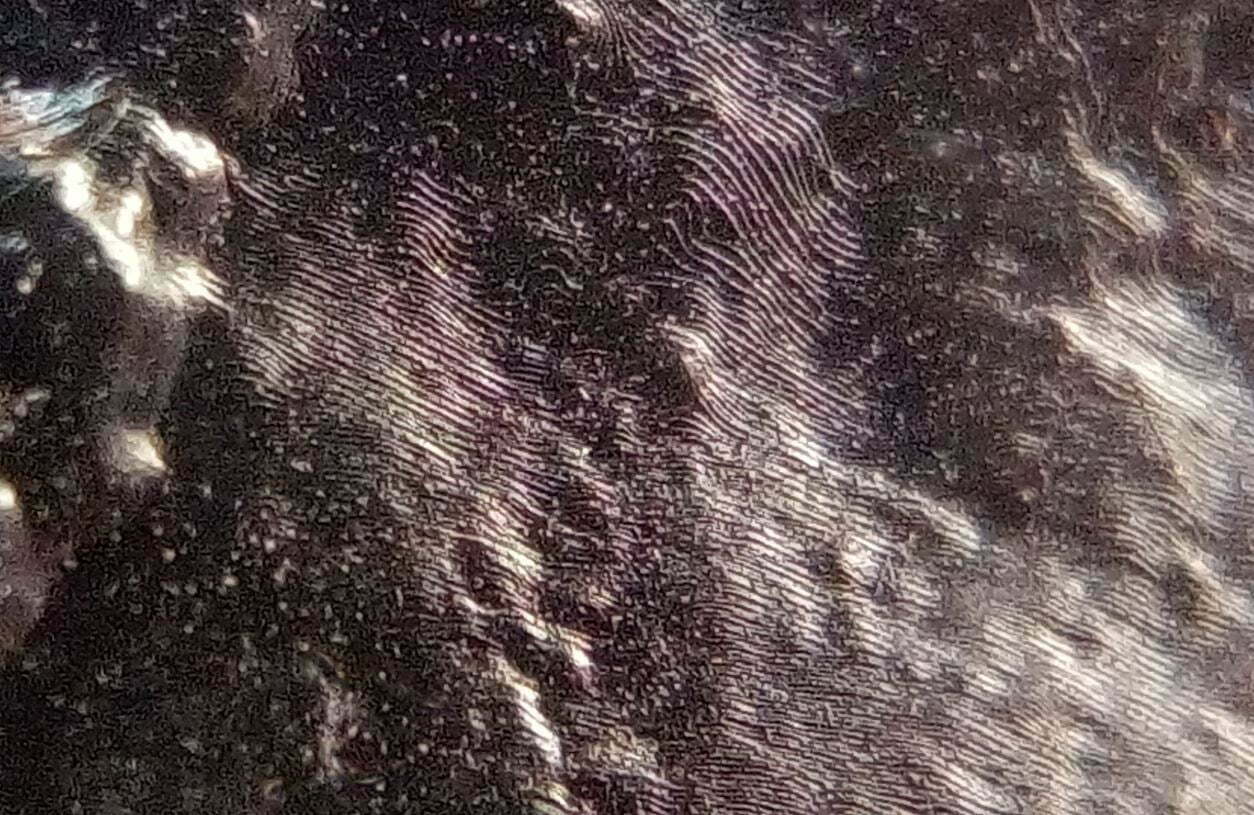
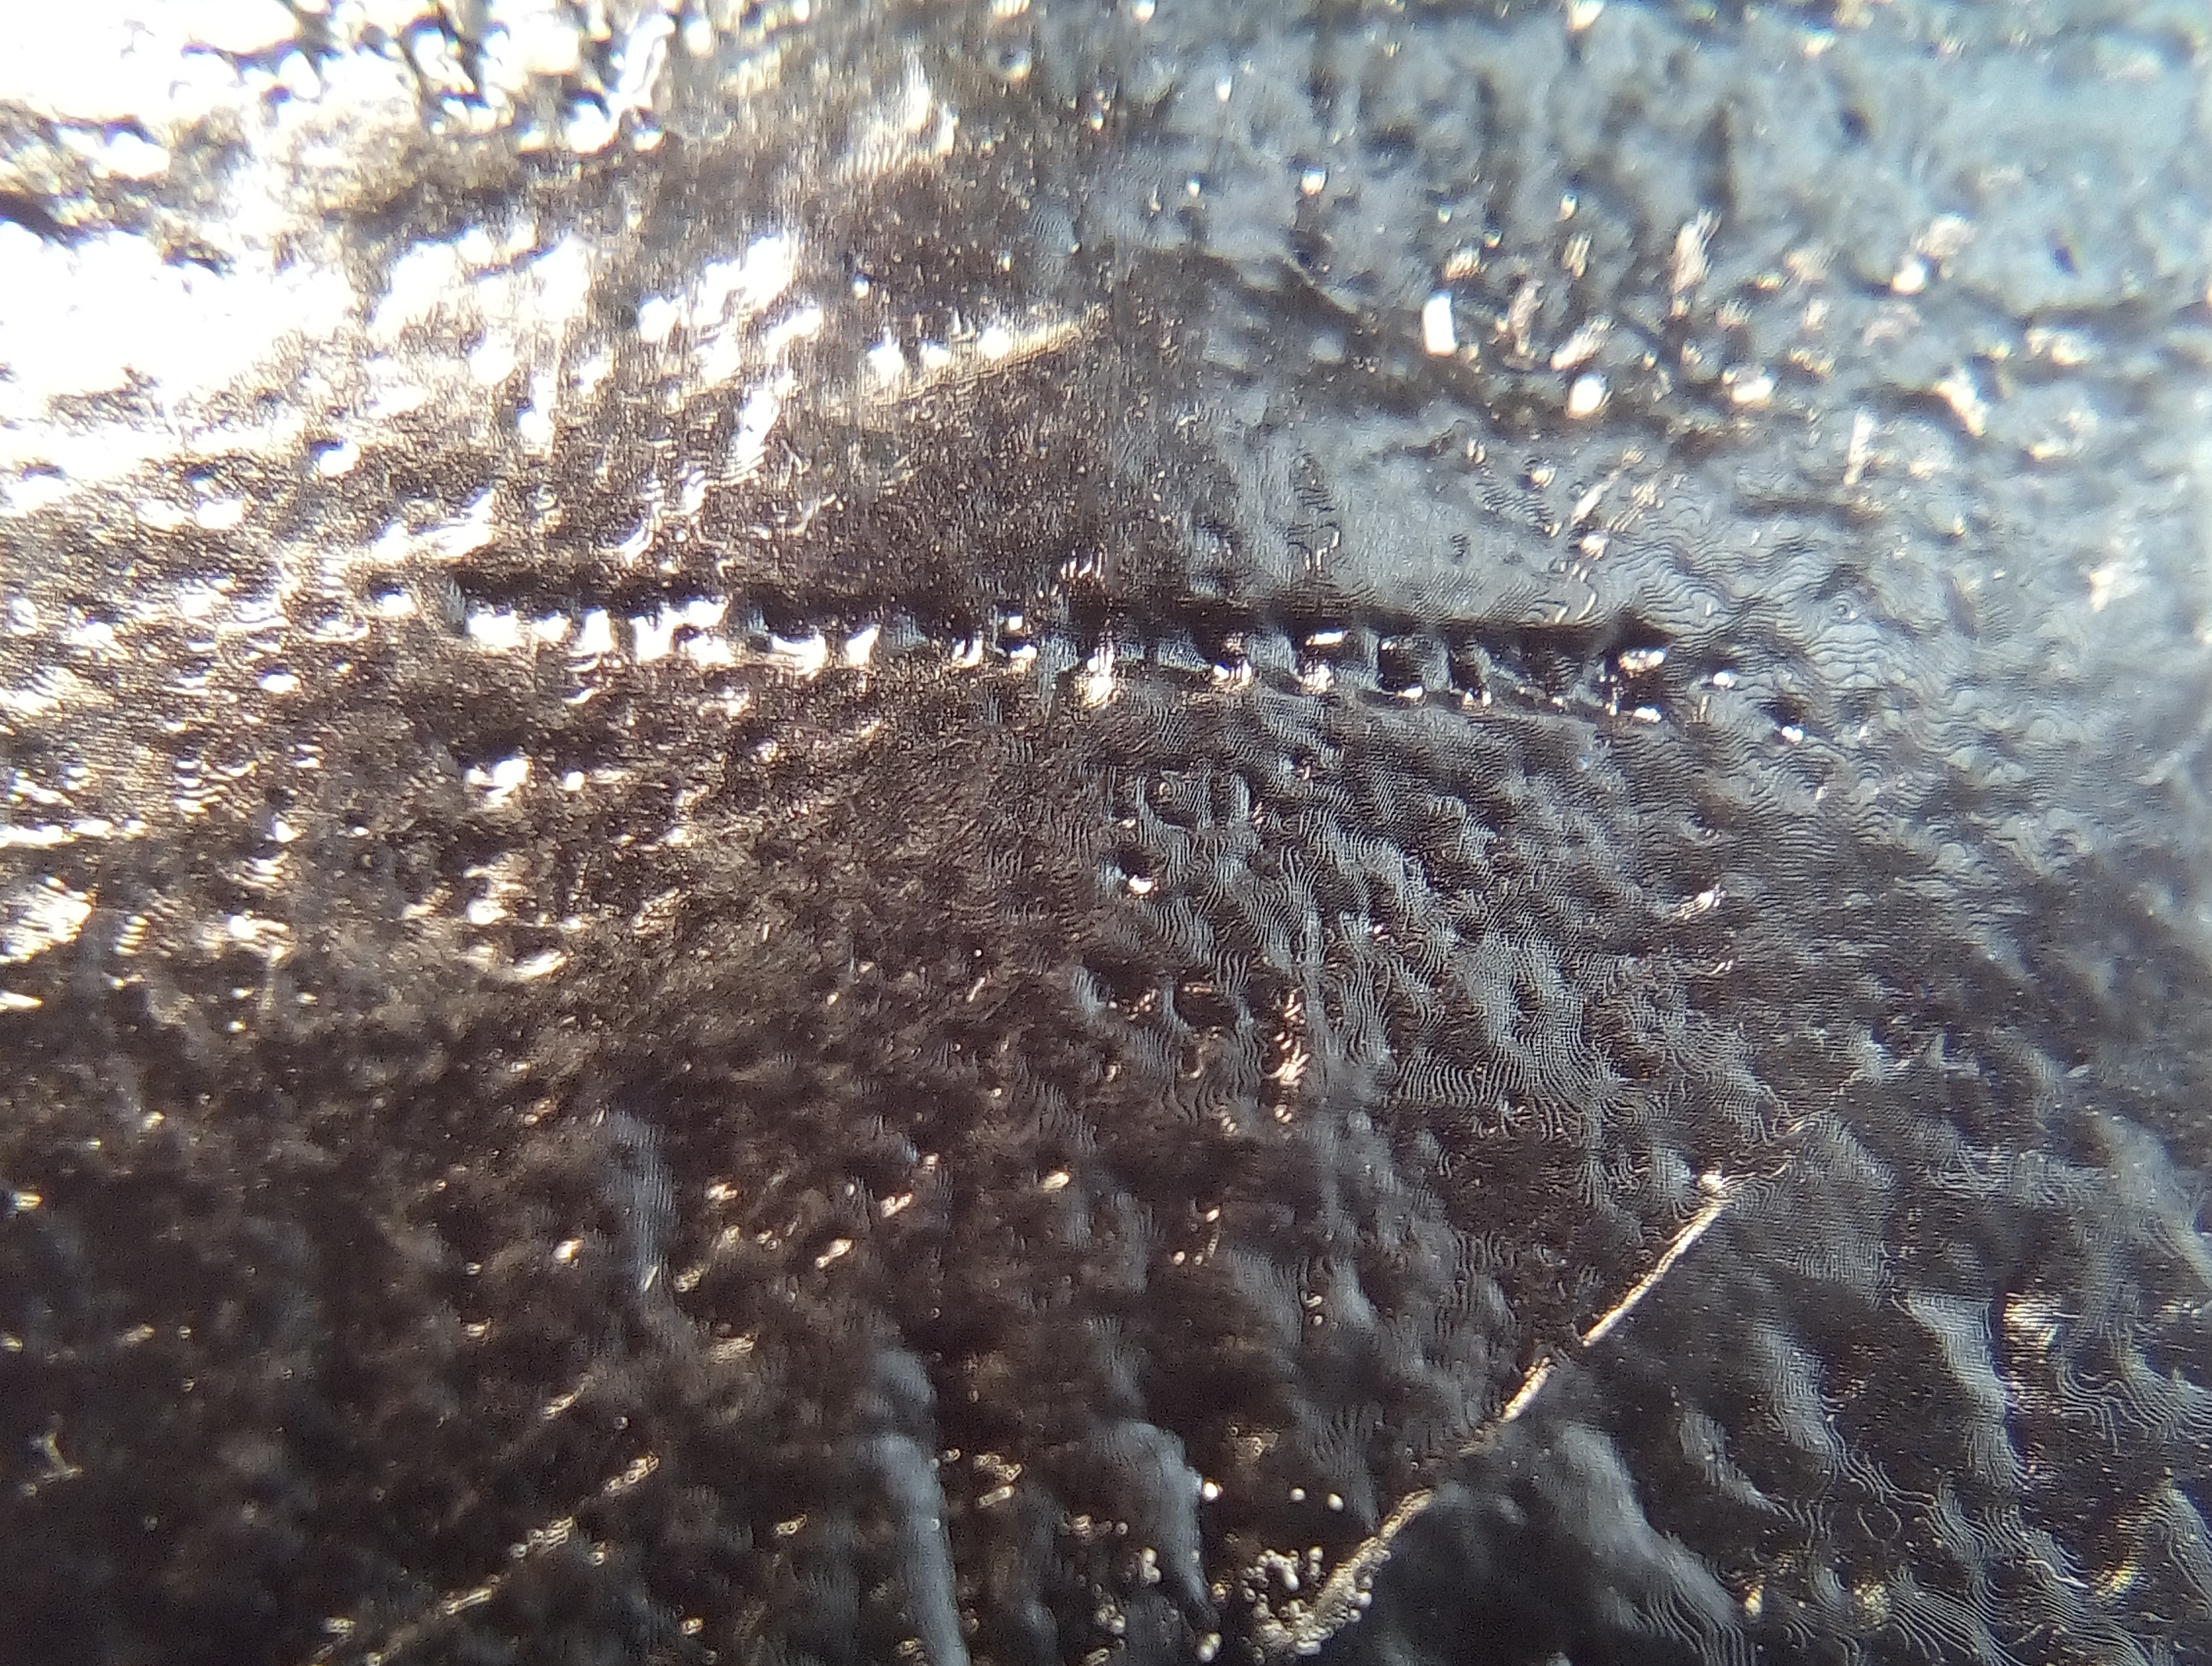
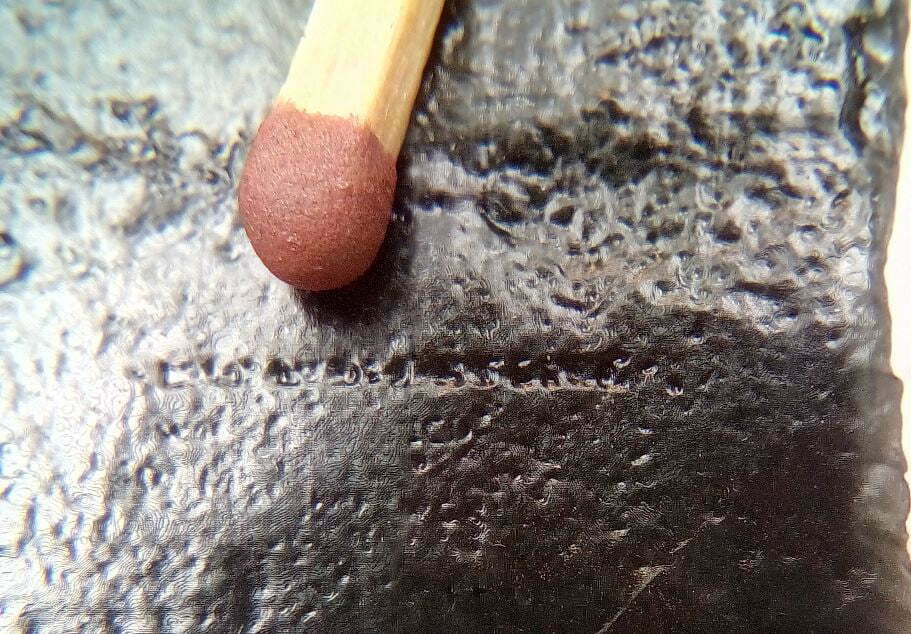
Fingerprint
uniqueness
The added benefit of an LCD DLP printer is that it slices into proper slices. A laser printer slices into paths, one continuous path. With individual layers, it’s easy for me to use a Photoshop action to take all those black and white slices and convert them to thin lines, contour lines. And then place them one, atop the other to create contours line on a map. A copyrightable digital fingerprint.
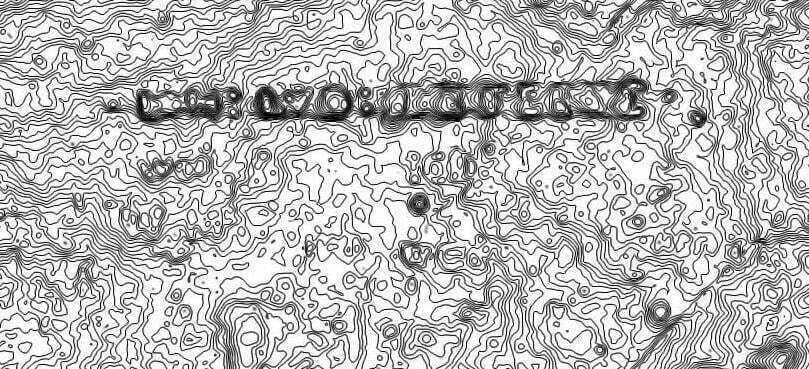
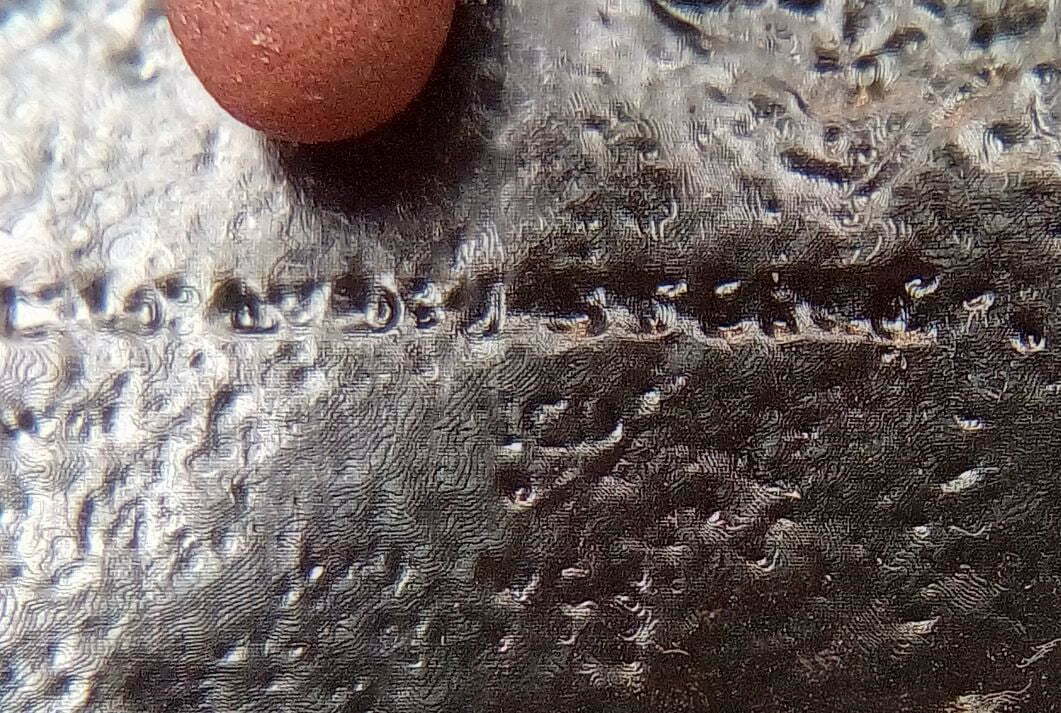
Close-ups of graffiti
Mold making and casting
I make an RTV silicon rubber multi-part mold from the master; carefully positioning the part lines, sprues, and risers so as they’re hidden in the joining of the three stones of the trilithons. I am, after all, determined to get the best, most perfect quality.
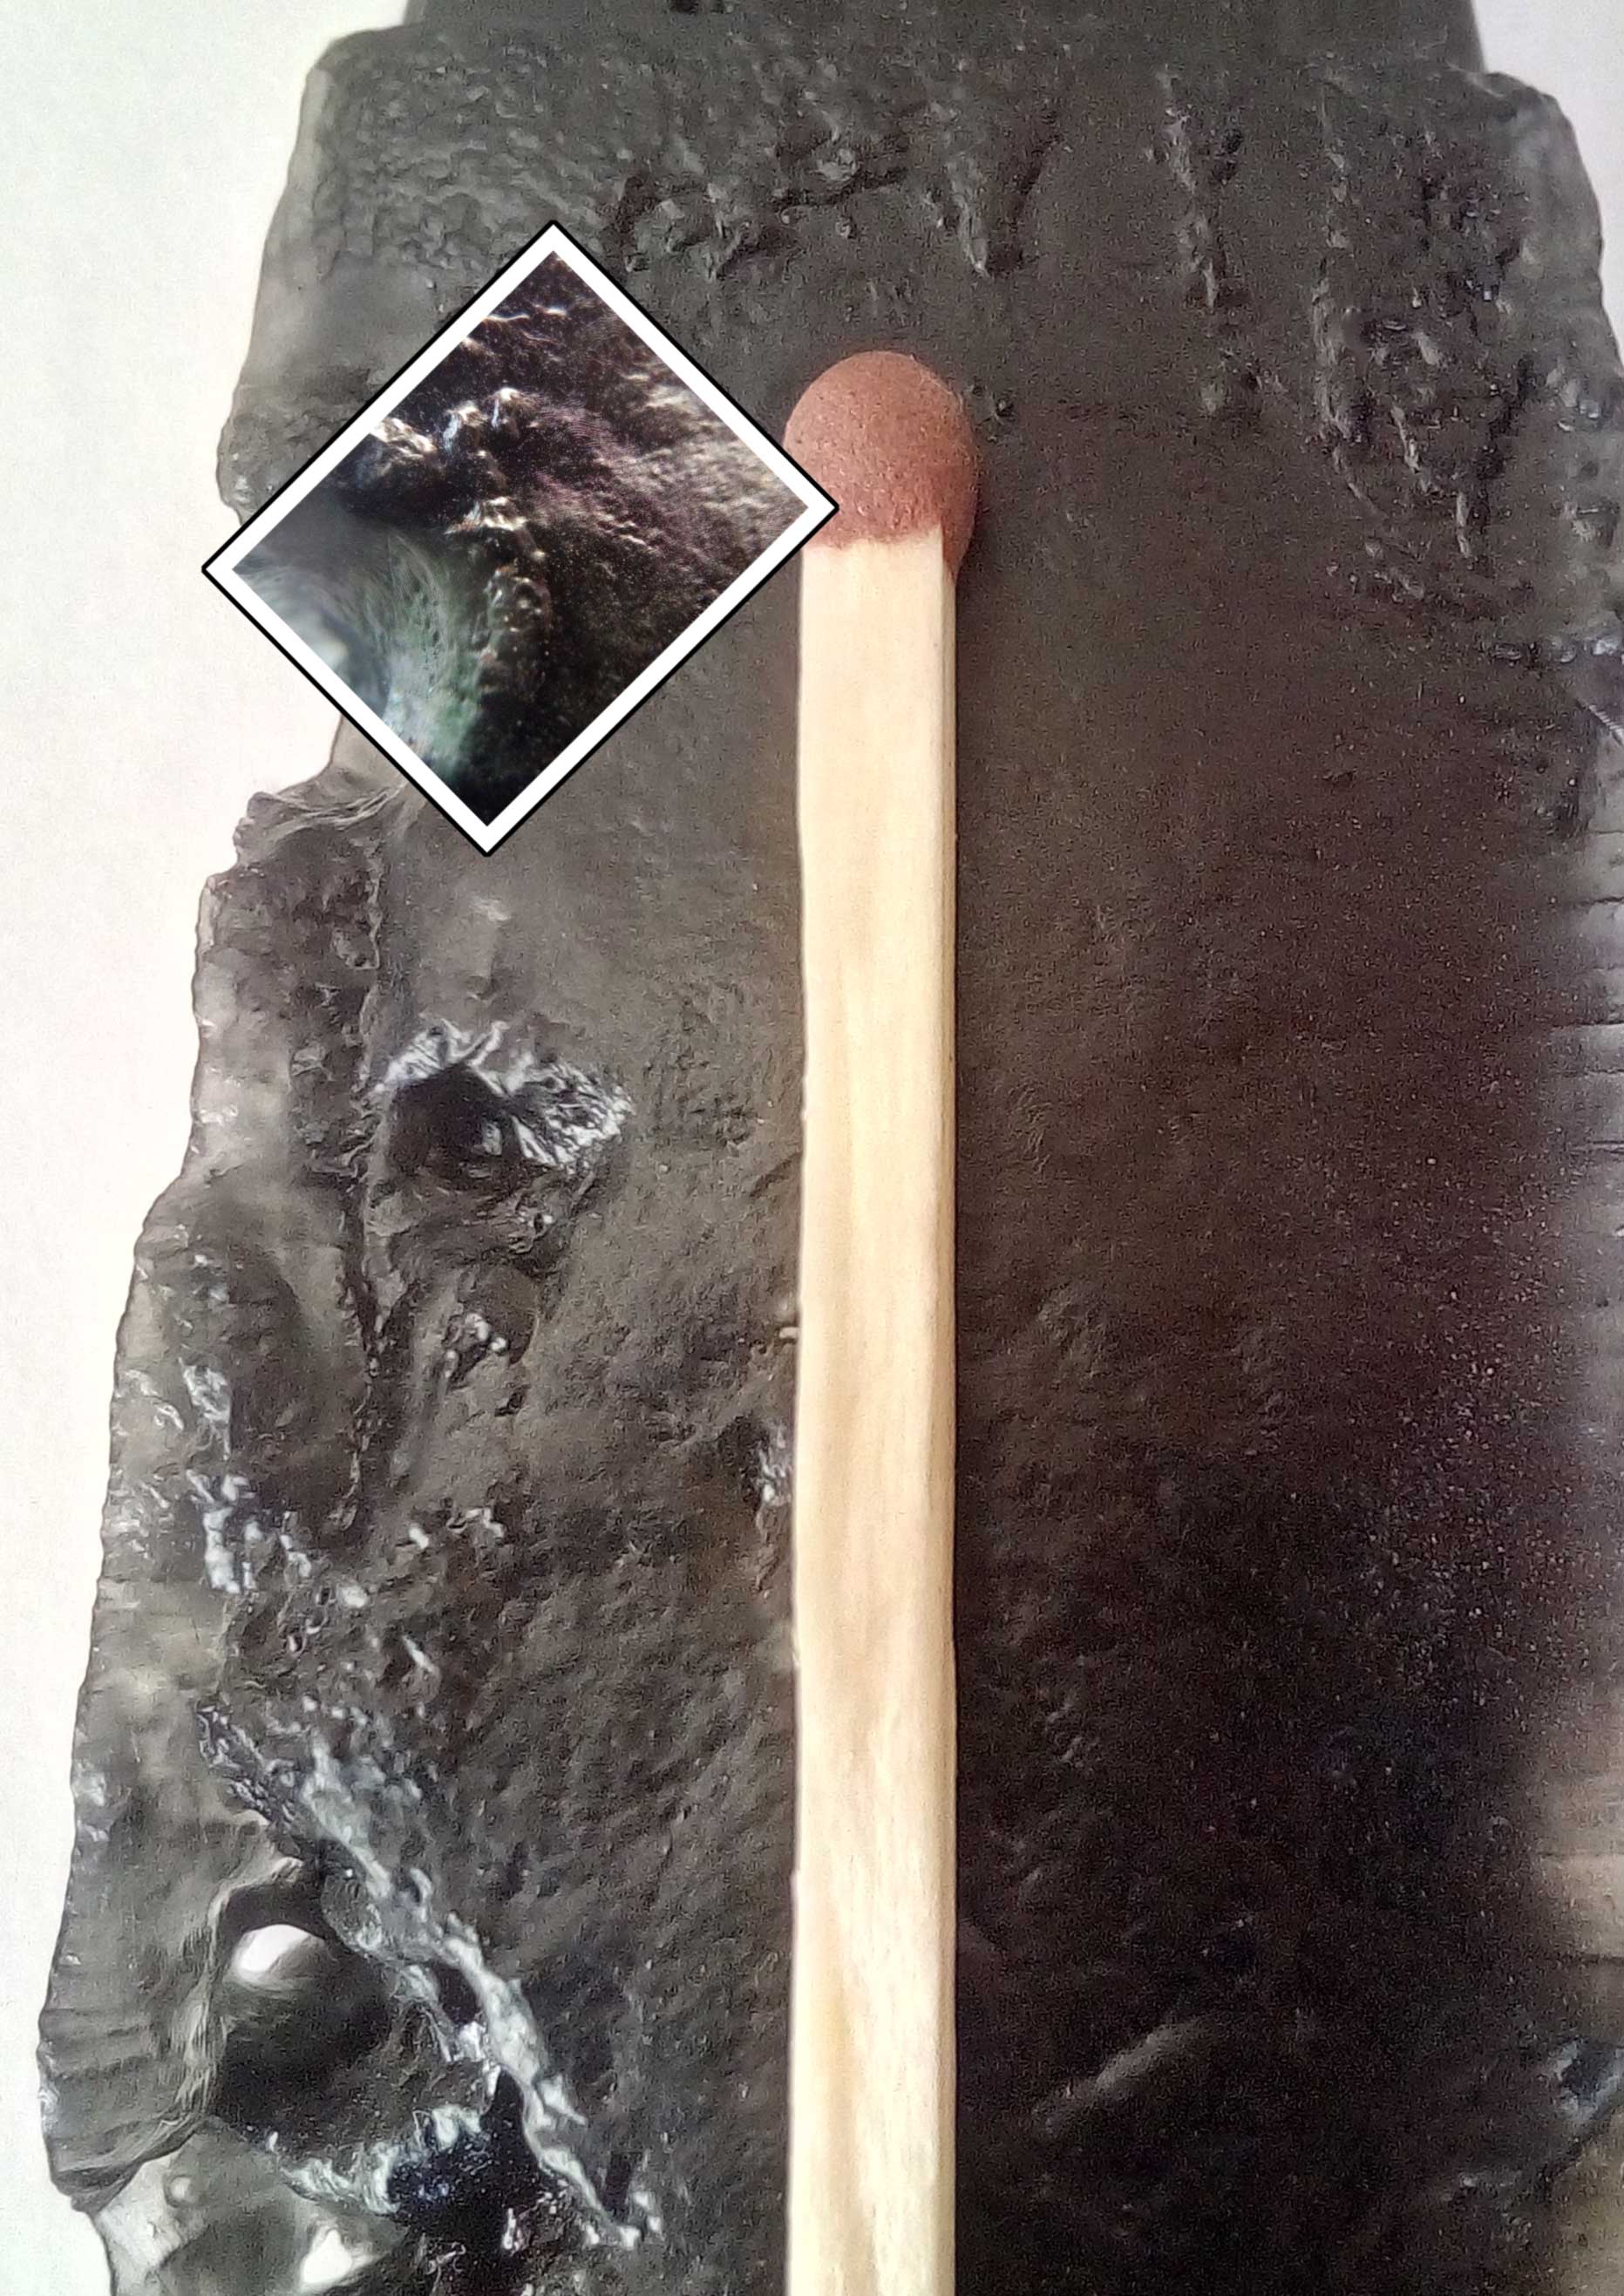
And now the casting. Using Polycraft’s SG2000L Polyurethane Resin I mix in barium sulfate an inert white powder that looks like icing sugar, except it’s really, really heavy – a specific gravity of 4.5. Bronze has an sg of 7.4, iron sg 7.85, copper sg 8.93, brass sg 8.55. While aluminum has an sg of only 2.6 – but I still like to make it heavy. And some iron powder to make it yet heavier and to darken the resulting mud pie.
But first, before the pouring of the resin, I add a fine metal powder to the mold so that it coats the whole of the inside of the mold. This ensures that the outside of the sculpture as a thin but complete skin of metal.
Here it becomes exciting
Then I pour the resin into the mold. Quickly, I place the filled molds into a vacuum chamber to massively expand any bubbles so they cannot fit in the mold cavity and escape. It looks like it’s boiling. Then even more quickly, I place the filled molds into a pressure chamber where I pressure cast them at 60psi. This ensures any remaining bubbles in the resin are squashed to zilch. Once it’s in the pressure chamber I can and do issue a loud sigh of relief. And I’m always surprised by how much my body relaxes. Rather, how much my body has tensed. I use long pot life resin, but still those 7 minutes whiz past, while I watch the stopwatch.
Adding a patina
Third, is the patina. Here you’ll need to read each model’s page for full details since there are so many patinas and their creation varies so much. It varies from leaving to soak in vinegar for a day for the rusty iron, to spraying ammonia and salt onto copper in a fume chamber for a few hours.
The finishing also varies, from matt varnish to wax.